Rules are not included in autocomplete or
apply.
How Rules Work in Continue
You can view the current rules by clicking the pen icon above the main toolbar: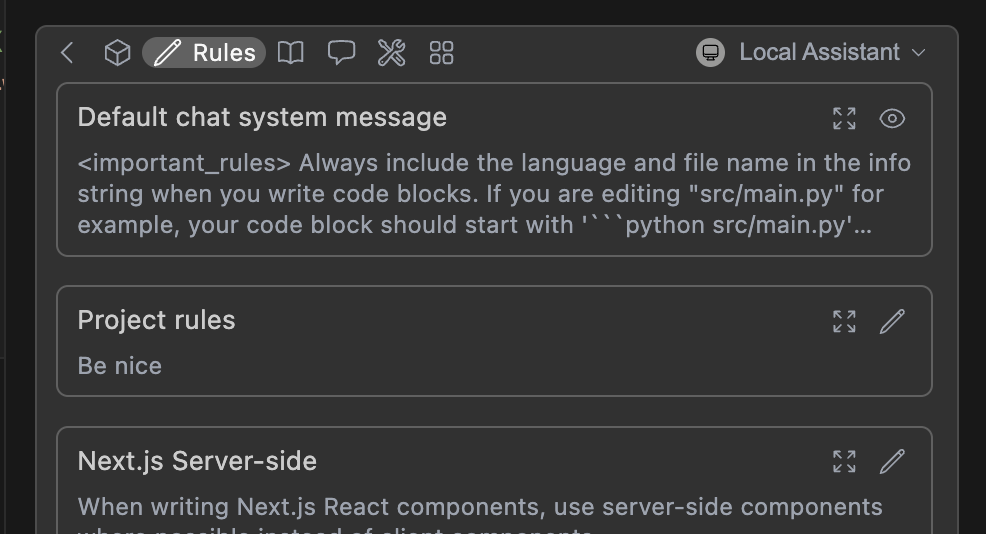
Understanding Hub vs Local Rules Integration
Important: Rules created in different locations behave differently and have different synchronization patterns.
Local Rules
- Location:
.continue/rulesfolder in your workspace - Visibility: Automatically visible when using Hub assistants
- Creation: Add rules button in VSCode or manual file creation
- File Management: Creates actual
.mdfiles you can edit directly
Hub Rules
- Location: Stored on Continue Hub, referenced in config.yaml
- Visibility: Only appear when referenced in assistant configuration
- Creation: Created directly on Hub or copied from local rules
- File Management: No local files created, managed through Hub interface
How Rules Are Applied
When using Continue, rules are loaded in this order:- Hub assistant rules (if using a Hub-based assistant)
- Referenced Hub rules (via
uses:in config.yaml) - Local workspace rules (from
.continue/rulesfolder) - Global rules (from
~/.continue/rulesfolder)
TL;DR: Local rules show up automatically when using Hub assistants. Hub rules show up automatically when referenced in your config.
Quick Start: How to Create Your First Rule File
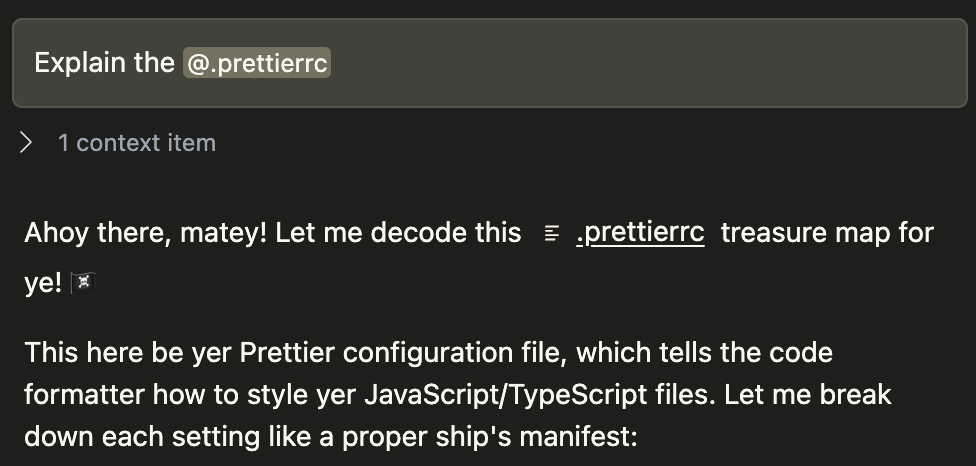
Below is a quick example of setting up a new rule file:- Create a folder called
.continue/rulesat the top level of your workspace - Add a file called
pirates-rule.mdto this folder. - Write the following contents to
pirates-rule.mdand save.
.continue/rules/pirates-rule.md
How to Create Rules Blocks
Creating Local Rules
Rules can be added locally using the “Add Rules” button while viewing the Local Agent’s rules.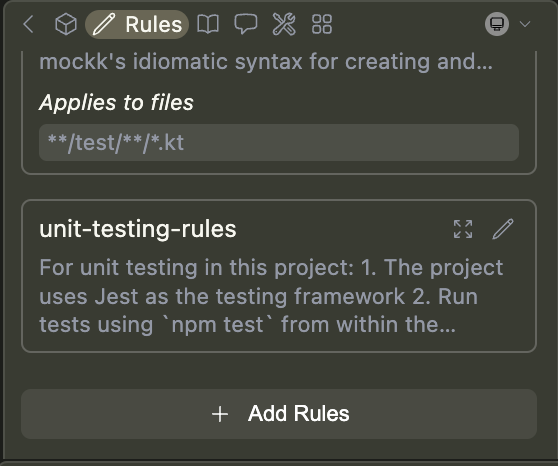
Automatically create local rule blocks: When in Agent mode, you can prompt the agent to create a rule for you using the
create_rule_block tool if enabled.For example, you can say “Create a rule for this”, and a rule will be created for you in .continue/rules based on your conversation.Creating Hub Rules
Rules can also be created and managed on the Continue Hub:- Browse existing rules: Explore available rules
- Create new rules: Create your own in the Hub
- Copy from local rules: Copy/paste content from your
.continue/rulesfiles to create Hub rules
Working Between Hub and Local Rules
- Hub to VSCode
- VSCode to Hub
To use Hub rules in your local setup:
- Reference them in your
config.yaml: - The rule will automatically appear in your rules toolbar
- Note: No local file is created - the rule exists only on the Hub
How to Configure Rule Properties and Syntax
Rules were originally defined in YAML format (demonstrated below), but we
introduced Markdown for easier editing. While both are still supported, we
recommend Markdown.
.md) files. They can have the following properties:
name(required for YAML): A display name/title for the ruleglobs(optional): When files are provided as context that match this glob pattern, the rule will be included. This can be either a single pattern (e.g.,"**/*.{ts,tsx}") or an array of patterns (e.g.,["src/**/*.ts", "tests/**/*.ts"]).regex(optional): When files are provided as context and their content matches this regex pattern, the rule will be included. This can be either a single pattern (e.g.,"^import .* from '.*';$") or an array of patterns (e.g.,["^import .* from '.*';$", "^export .* from '.*';$"]).description(optional): A description for the rule. Agents may read this description whenalwaysApplyis false to determine whether the rule should be pulled into context.alwaysApply: Determines whether the rule is always included. Behavior is described below:true: Always included, regardless of file contextfalse: Included if globs exist AND match file context, or the agent decides to pull the rule into context based on its descriptionundefined(default behavior): Included if no globs exist OR globs exist and match
- Markdown
- YAML
doc-standards.md
How to Set Up Project-Specific Rules
You can create project-specific rules by adding a.continue/rules folder to the root of your project and adding new rule files.
Rules files are loaded in lexicographical order, so you can prefix them with numbers to control the order in which they are applied. For example: 01-general.md, 02-frontend.md, 03-backend.md.
Example: How to Create TypeScript-Specific Rules
.continue/rules/typescript.md
Troubleshooting Rules
Issue: Rules Created in Different Places Don’t Sync
Problem: You created rules in the Hub but don’t see them in VSCode, or vice versa. Solution:- Hub rules only appear when referenced in your config.yaml using the
uses:syntax - Local rules automatically appear when using Hub assistants
- There’s currently no automatic bidirectional sync
Issue: “Edit” Links Point to Wrong Location
Problem: When you click “Edit” on a rule in VSCode, it tries to open the Hub even though the rule is local, or shows an incorrect URL. Root Cause: This happens when you have a mix of local and Hub rules, and Continue can’t properly determine where each rule originates. Workaround:- For local rules: Navigate directly to
.continue/rules/folder and edit the.mdfile - For Hub rules: Go directly to your assistant page on Continue Hub and edit from there
- Keep track of which rules are local vs Hub-based to avoid confusion
Known Issue: This link accuracy problem is tracked in Linear issue CON-3084 and will be fixed in a future update.
Issue: Rules Don’t Appear in Assistant
Problem: Your rules exist but don’t show up in the rules toolbar. Check These:- File location: Ensure local rules are in
.continue/rules/(not.continue/rule/) - File format: Rules should be
.mdfiles with proper YAML frontmatter - Config reference: Hub rules must be referenced in
config.yaml - Assistant type: Ensure you’re using the correct assistant (local vs Hub)
How to Customize Chat System Message
Continue includes a simple default system message for Agent and Chat requests, to help the model provide reliable codeblock formats in its output. This can be viewed in the rules section of the toolbar (see above), or in the source code here. Advanced users can override this system message for a specific model if needed by usingchatOptions.baseSystemMessage. See the config.yaml reference.